Everything described is looking from the front of the drive.
Disassemble the drive and take off the top.
Remove the tray by sliding it fully out, then pulling the case away from
it on the left and unhooking the tray on that side, then the same on
the other.
It takes some force, but DON'T bend the plastic too much.
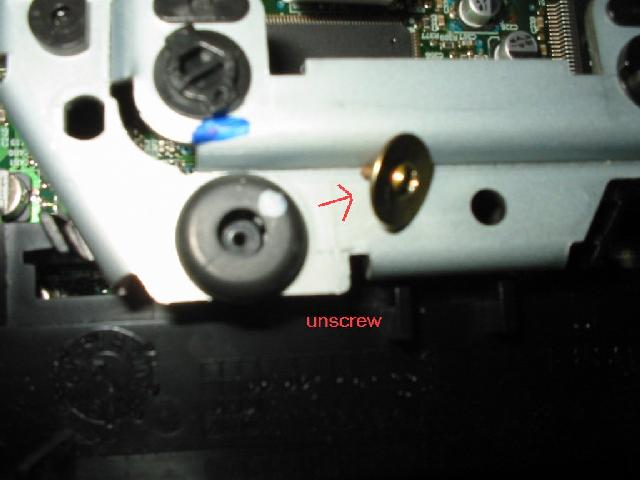
Unscrew the golden screw in the back of the laser unit.
Unhook the laser assembly at the sides (push the 2 tabs aside and lift it up)
Pull it back a bit.
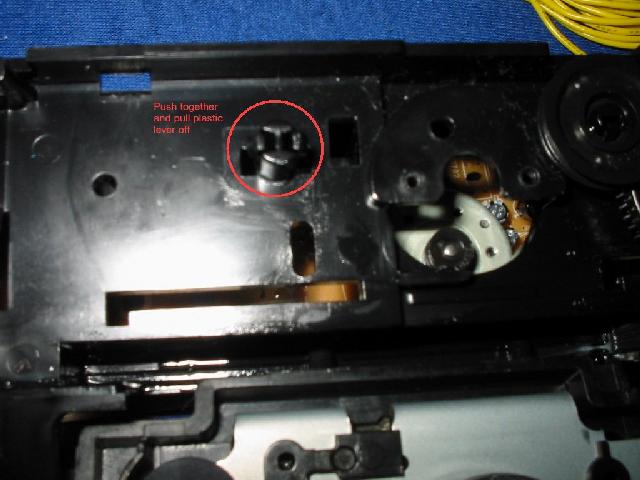
Remove the white lever in front by pushing the 2 tabs together. Ignore that the motor is unscrewed in my pic.
Pull the laser assembly back so it no longer touches the white part in front.
Slide the white part all the way to the right and pull it out by lifting and pulling it away from the case.
Be careful not to break it or the cogwheels.
Now you have to cut back the top part of the pictured part. DON'T cut all the way back.
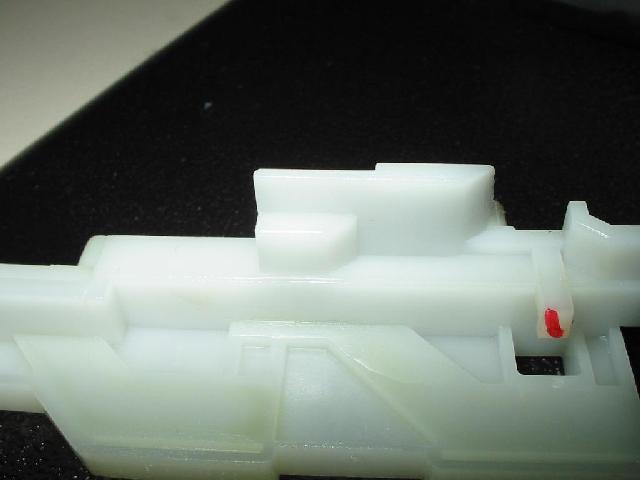
After that it should look like this:
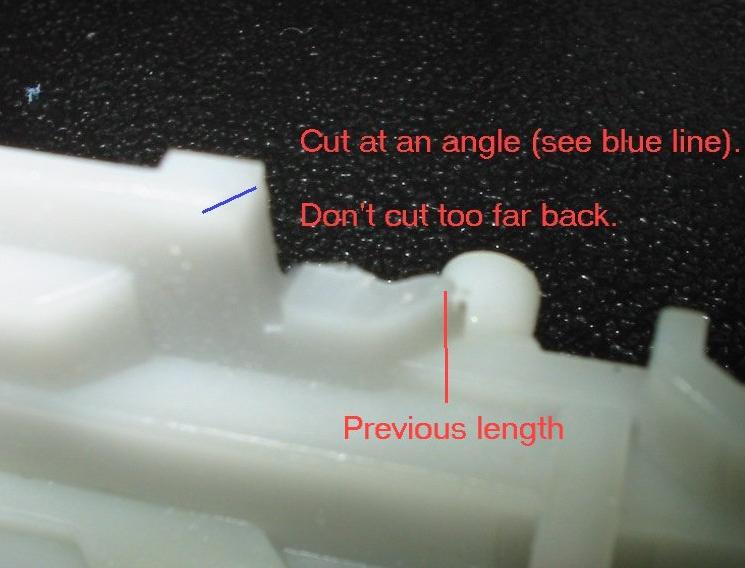
I used a Dremel, but with a sharp knife and some time, it should be doable too.
Now check if the drive takes the cd/dvd properly. if it still doesn't,
you'll need to cut back a little more. just go in small steps.